Happy Friday!
I hope everyone has had a fabulous week and is ready for an amazing weekend!
We don't have a new release this week at Sami Stamps, but instead there is a sale on the images the the DT has chosen to use for their projects. Each image we've used is 50% off!
For my card, I chose to use the Love and Lullabies image.
I wanted this image to be super soft and subtle so I chose to use some watercolor pencils on it. I didn't focus a whole lot on shading but did try to add a little depth where it was needed.
After the image dried, I mounted it onto some soft grey cardstock. Everything was going so smooth until I miss aligned my paper and almost sliced through my image! It was one of those "see it as it's happening" type panics. Fortunately I reacted enough to pull the blade up just enough so that it just grazed the top of my paper. But there was still a clear cut line. So I had to adjust my design a little bit to help cover up that line. Nothing a couple of simple soft pink stripes of paper couldn't handle :)
To finish it all off, I embossed a simple little heart in liquid platinum and trimmed it out so that the sentiment could tuck behind it in the corner. I didn't add any other embellishments, which helped keep the card in the soft style I wanted.
Be sure to check out the rest of the DT's creations! They are gorgeous! And remember you get 50% off any of the images they used!
Thanks for visiting! <3
read more →
Hey everyone!
Stopping in real quick to share a gorgeous card I was able to put together today using the Sparkle and Shine Challenge sketch.
This card came together incredibly quick. I really didn't expect it to go so well, but everything just sort of flowed and I had it done in no time! I love that!
A few months ago I purchased a few stamp sets from WPlus9 - Pretty Little Peonies and Fresh Cut Florals. I loved the little wisteria looking stamp in the Fresh Cut Florals. Wisteria is one of my all time favorite flowers so I loved that I finally had a stamp for it. But I never got around to using it the way I wanted to. When I saw the Sparkle and Shine sketch, the idea just clicked.
I started by lightly sketching in a grid on my paper to sort of represent a lattice (I know I just did a lattice card last week, but it's spring time where lattice and flowers go hand in hand :) ). I cut out a little square mask and used that to block off little sections so I could create that really cool hard edged shading with the grey. I love how it turned out!
I then figured out where I wanted my oval die cut to be, marked that off and started stamping my wisteria and the leaves to go around it. Cut out my oval panel and then added some tinted embossing paste to a stripes stencil. While that dried, I worked on the sentiment banner. I was going to make this a birthday card, but it was so elegant that I felt the Mother's Day sentiment the My Favorite Things Sweet Roses stamp set fit better. I also added a scallop cut piece of vellum behind my oval die cut to help separate it a little, but still keep it tied in with the rest of the stamping.
A few thin stripes of silver glitter paper, and a couple of Simon Says Stamp Moonshine sequins and the card is done! Love love love it!!
I'd like to enter this card into the following challenges:
Simon Says Stamp-Anything Goes
Sparkle & Shine #2-Sketch

Thanks so much for visiting!! <3
read more →
I've been quiet all week and now you get me twice in one day! Lol :)
But this is an exciting post for me since it is my first official post as a Meljen's Design team member!! I know I did a little thank you post here last week, but that was more for me...whereas this post is actually associated with a challenge!! Yay!
So the challenge for this week is Mom! I've made a lot of mom cards these last few weeks, so mine isn't necessarily specific to mother's day, but could be given to a mom for any reason :)
I had a blast making this card! Learned that the ink in my black refill bottle actually looks purple..but I rolled with it anyhow :)
I've used the super cute Little Layered Flowers set and colored them all in with my pencils. Of course, I've added glitter to the centers. A fun package came in the mail for me this week containing my order from Simon Says Stamp, so I pulled out my new Stitched Journaling die from Lawn Fawn and did some half embossing to make a small tag for the sentiment, which was also in that fun package.
The stripes are from a Tim Holtz stencil and I used some embossing paste to fill it all in. It was really fun to see this whole card come together, and I think the flowers just finished it off perfectly!
So swing by Meljen's Designs to check out the rest of the design teams creations, and then join in the fun!!!
I'd like to enter this card into the following challenges:
Artistic Inspirations #90-All for Mom/Anything Goes
Inky Impressions #159-Mother's Day
Simon Says Stamp-Spring Flowers
The Squirrel and the Fox #69-Mother's Day
Word Art Wednesday #131-Anything Goes
Thanks for visiting! <3
read more →
Happy Friday!!!
We have another awesome new release for you today at Sami Stamps, and a fun challenge!
Our release is Mother's Love and is full of super sweet images, so let's jump in :)
My first card uses the Stroller Mom image, which was so hip and stylish that I had to use some fun and funky papers for my card.
I colored up the image with my pencils and layered it onto a bunch of bright sparkly papers. Then added a simple circle sentiment, colored up a button to match my papers, and put a sweet little heart in the center.
I would like to enter this Stroller Mom card into the following challenges:
Inky Impressions #157-Anything Goes
Pattie's Creations #91-Mother's Day
Sassy Studio #227-So Bright Gotta Wear Shades
That Craft Place-Anything Goes
My second card came together almost exactly as I imagined and I am beyond thrilled with it!
I've been a little addicted to watercoloring lately...it's just such a fun tool to use on cards since every time it turns out different.
I spread some water across my paper to sort of prep it and then chose a few soft baby type colors and just swiped them across the paper randomly. Then sprayed it really well, swirled the paper to get the colors to move, added more where needed and mopped up the muddy puddles as they formed. And it's perfect!
The image I used is Waiting for You. It's a silhouette so I thought it would be cool to just leave it as that. So I colored it all in and added a little heart punch over the belly. The love stamp seemed to be the perfect size and fit for this card so I inked it up and stamped it next to the image. Then just added little stripes of black cardstock to give a nice crisp edge around the whole card.
I'd like to enter this Silhouette card into the following challenges:
613 Avenue Create #69-Anything Goes
Penny's Paper Crafty #175-Pastel Colors
Sentimental Sundays #204-Clean and Simple
Word Art Wednesday #130-Anything Goes
Be sure to stop by Sami Stamps to see the rest of this sweet release and check out the DT gals creations! Then join in our Anything Goes challenge!!
Thanks for stopping by!! <3
read more →
Happy Monday!
I hope it's as gorgeous outside by you as it is here in Montreal! After a rainy weekend, it's nice to wake up to the sun!
We have a new challenge starting today at Paper Makeup and the theme is: For a Special Lady.
I have been frantically working on Mother's Day cards...mostly for my Etsy shop, but they have sort of taken over my work desk these last few weeks. So this theme worked out well for what I had sitting around.
As I mentioned briefly in yesterdays post, I have been slightly addicted to shaker cards lately. And I just love this Dandy Wishes set from Paper Makeup, so I decided to try something a little different with this card. I did sort of a no-lines coloring with the image and colored the flowers in with my ShinHan markers. And then made 3 little shaker frames for the flowers to peak out through. Those shakers are filled with tiny beads instead of sequins. I thought the tiny beads gave it a softer feel than what the sequins would have...and since the frames are so small, the sequins wouldn't have fit very well :)
I used a new stamp set form Winnie & Walter that I won from the online card class I took last month. I have been obsessed with this stamp set since it's perfect for just about everything! To help even out all the dimension, I wrapped some twine around the card and added a button to sort of pull that dimension through the rest of the card.
I'd like to enter this card into the following challenges:
2 Cute Ink #105-Mother's Day
Catered Crop-Buttons
Crafting with Dragonflies #24-Mother's Day/Special Lady
Delightful Challenges-Love You, Mom!
Ruby's Rainbow #77-Ladies
Stampin for the Weekend-Buttons and Bows
Try Stampin on Tuesday #164
I hope you will join us this week for this fun challenge!!
I also want to share one more shaker card (I may have another one today...just have to wait and see :) ). It's not related to Paper Makeup, but thought it would be fun to include in this post anyhow.
Instead of the usual dimensional window for the shaker, I made it into a pocket. It sort of worked, though while sewing the pocket together, the clear covering shifted a little...but it still lined up alright in the end. I cut out a few hearts to fill in the shaker as well just for something a little different to go with the sequins. And then stamped and colored my cute teddy bear from Lili of the Valley.
I would like to enter this card into the Pretty Pink Posh Sequin Shaker Card Blog Hop as well :)
Thanks for stopping by!! <3
read more →
Good morning loves!
It's going to be another hot day here in Montreal...I'm so not ready for these 80+ temps! I love cooler weather and I look forward to that in the spring. Temps this high shouldn't show up until July! I've been tempted to pull out the air conditioner! But we don't have the right parts to set it up with the slider doors yet...so I've settled for fans :)
Today we are starting a new challenge at Tuesday Throwdown! And since this coming Sunday is a special day, our challenge is to make a card for a special lady in your life. That could be your mom, grandma, a close friend, or a sibling.
Our sponsor this week is Robyn's Fetish and they have graciously offered us a few images to work with.
I have used the very sweet Flowers for Mom image. Pulled out some fun spring papers that I recently purchased and tried to match my pencils as closely as I could.
The background panel behind my image is embossed with my Swiss Dots folder. I scallop cut a small piece of matching paper (it's the back side of the background paper...love when they are double sided!) and then wrapped some marigold twine from The Twinery around the seam where the two papers meet.
I printed off the sentiment and then used a labels die to give it a fancy cut.
Pretty simple card! But I love the bright colors and how they all work together!
I hope you will join us this week! You can link up to 3 projects, so get craftin!
I'd like to enter this card into the following challenges:
Chocolate, Coffee, Cards #38-Mother's Day
The Corrosive Challenge #173-Mother's Day
Craft Your Passion #161-Floral Delights
DigiStamps4Joy #55-Women are Special
Melonheadz Friends-Mother's Day
Retro Sketches #62
The Squirrel and the Fox #43-Mother's Day
V's Sweet Ideas #11-Mother's Day
Whoopsi Daisy-Mother's Day
Without Words-Brings Forth May Flowers
Thanks for stopping by! Be sure to follow me on Bloglovin and Facebook!
read more →
Happy Friday!! How has everyone's week been?
Mine has been fabulous! Except for this icky snow! (sorry for the dirty word!) I mean really!...it's mid April and snow should be a thing of the past now! I do pray that this is the end of that stuff and we can move onto a more glorious spring.
I want to say a warm welcome to my new followers! I'm so very happy you are here! If you're visiting and would like to stay connected, you can find my links over there on the right for Facebook, Pinterest, and Bloglovin. I haven't jumped on the twitter bandwagon yet...something about it scares me...but maybe someday I will get there :)
Onto my cards for today. Playing a little bit of catch-up..again :) I had a great card-making day yesterday. 4 cards completed!! And I figured, instead of spreading them out over multiple blog posts, I'll just do them all together :)
We will start with Mother's Day cards! I've made quite a few of these over the last few months. They are always so much fun to make!
This little sweetie is So Tall from Pollycraft Designs. Adorable little image. I thought it worked great to make as a mother's day card from a daughter :)
I colored it all in with my colored pencils and then layered all the papers together with a large bow at the bottom. The border is my MS lace edge punch that I love oh so much (I think 90% of my cards recently feature that punch :) ). I printed off the sweet circle sentiment and then added some blue liquid pearls in the corners.
I'd like to enter this card into the following challenges:
Dilly Bean-Pastels
The Paper Shelter #107-Spring Delights
Send a Smile 4 Kids-Mother's Day
Sketchy Friday #14
There She Goes-Blue, Yellow, Neutral
Onto the next Mother's Day card:
I think this was my favorite of the day yesterday. It's Spring from Pollycraft Designs all colored up and surrounded in girlie pinks! My goal yesterday was to try and tackle some of scrap pile and get rid of some of it so I don't have so much to move. These papers all seemed to go so well together! I just loved that!
I layered 2 ribbons together and made a bow to stick at the bottom. Then added 6 of those sweet little flower brads to the corners.
I'd like to enter this card into the following challenges:
2 Creative Chicks #1-Mother's Day
Divas by Design-Flowers
Pattie's Creations #65-Make it Sparkle
Pretty Little Ribbons #21-Spring is in the Air
Simon Says-April Showers/Spring Flowers
Sweet Sketch Wednesday #201
And now onto Father's Day :)
This is one of my favorite images to use for Father's Day cards. I think it totally reminds me of my dad, so it makes me smile every time I look at it. Again, it's Robot Dad from Pollycraft Designs (I was on a roll with their images yesterday, can you tell?) And I've used that fabulous MS lace edge punch again, along with some Twinery Cappuccino twine behind the image and tied into a bow around my handmade button.
I'd like to enter this card into the following challenges:
Aud Sentiments #78-For a Guy
Digi Darlas #57-Take Me Out To The Ball Game
Seems a Little Sketchy #36
Robyn's Fetish #154-Anything Goes
Well, if you made it to the end, thanks for sticking around! I know it was a long one, but this weekend will be pretty busy for us...as will the next several weeks as we move into a new apartment. So I may be a bit quiet. Please bear with me! I will be back, I promise :)
For now, love to you all! <3
read more →
Happy Friday!!
I seriously have a love/hate relationship with Friday mornings...I absolutely love that-hello-it's Friday! For the next 2 mornings, I can stay up till 2 am and sleep in till noon 8 (our cats aren't that generous...don't mess with their breakfast time!) But at the same time, I hate getting out of my nice warm bed...I just want to lay there and snuggle with my hubby and let the weekend begin. But I know that can't happen, so I roll out of bed and make him breakfast. And thus starts my day :)
I figured, since I'm up I should share something with you! And since I finished this card yesterday, it's perfect for this post.
Isn't that image precious?! It's Petunias and Hummingbird from Fred She Said and it is so adorable! I went with a soft pink and white color scheme and I think it really worked for this card. Pink seems to be a favorite color of mine to use on cards. Which is weird because I'm not a huge pink fan...
To go with the image, I made up a couple of flowers. The large one took me a while to work out. I tried a different style of petunia first and it turned out awful...so I went with a different style. I used my copics to streak some color through the middle of the layers and then glued them all together with a pearl in the center.
I used my large daisy punch to make the daisy's and added some paint and tiny beads to the centers. The little pink glittery stamens were supposed to be used in the center of my first petunia, but since that flopped I decided they would work well tucked behind the flowers for a little flourish.
Everything is colored up with my colored pencils and detailed with some stickles. This card seemed to be a good fit for a mother's day card so I printed out the sentiment and double matted it in the corner. Gorgeous!
I'd like to enter this card into the following challenges:
Craft Your Passion #150-All That Glitters
Crafty Cardmakers #85-Blooming Images
Delicious Doodles #24-Flowers for Spring
Digital Tuesday #198-Pink and White
Fab n Funky #159-Flower Power
Ladybug Crafts-Pink + 1 (white)
The Sketchy Challenge #41
Sentimental Sundays #142-Lace and Pearls
Thanks for stopping by!!
read more →
Hello friends! Happy Thursday to you all! I hope everyone is well...even on this wet and gloomy day here in Montreal...
I've been busy getting some work done since we got back from our small (but much needed) vacation. It seems I have developed a bad habit of making a card, putting it aside to post later, and then forgetting about it...
So this post will contain 3 cards! I can't believe I've been doing that! I noticed my little pile of cards was getting kind of high today and then realized what was happening...I'll have to nip that one in the butt rather quickly!
With Mother's Day this weekend, I was inspired to make one more card. I wanted to make one for the expecting or new Mother's since this is a special day for them.
I used the adorable Ice Cream and Pickles image from Saturated Canary. Such a sweet image. I wanted soft neutral colors for the card so I went with a peach tone. She is colored in with colored pencils. The frame is cut from my Lacy Labels cartridge.
Then I cut out some spiral roses and added some peach glitter to the tips. I think I'm getting pretty good at those things. I've learned to let them loosen or "bloom" once I've quilled them up so they look more open and fuller...the first few I made were quilled so tight they just looked like a blob of paper...lol!
I typed up and printed out the sentiments on my computer. Then added some white paint dots in the corner and around the frame and covered those with the peach glitter. There is also some glitter in her hair...just enough so she has a little glow.
The inside is very simple with the Mother's Day sentiment.
This card is entered in the following challenges:
Sweet Sunday Sketch #158
Saturated Canary #17-May Flowers
The Paper Variety-May Flowers
Through the Craftroom Door #25-Happy Mother's Day
Critter Sketch #114-Mom
Daisy Doodles #59-May Flowers
Kaboodle Doodles-#118-Honoring Mothers
Love to Create #14-For Mom/Special Lady
Paper Makeup #35-May Flowers
The Pink Elephant #147-All About Mom
Celebrate the Occasion #62-Mother's Day
The Cuttlebug Spot-Flowers for Mom
Tuesday Throwdown #97-Motherly Love
Simon Says-Sweet Tooth
My next card is for Father's Day.
I was attempting to follow the sketch at Mojo Monday and it sort of worked out, but the subway art (found at A Proffittable Life and available in a few different colors) ended up being so much bigger than I expected it to be that it left little room for the other elements. But I had to use that image. It fit so perfectly...especially for my dad. How many times have you heard all of those quotes? They are forever embedded in my brain!
This card is entered in the following challenges:
Mojo Monday #240
Paper Pretties-Use Ribbon
Crafts for Eternity #70-Maypole Ribbons
This last card was so much fun creating! I got the inspiration from a couple of cards I saw using the Taylored Expressions Green Acres stamp set.
One of our cousins is graduating high school this year. Makes me feel old...he was our ring bearer in our wedding! And now he's graduating!! Ugh...but he loves farming and plans to make that his life...so when I saw the Green Acres stamp set, it sparked some ideas. I cut out the tractor from the My World cartridge and then cut some hay with the Plantin Schoolbook cartridge, inked the edges with a golden yellow ink pad and layered them around the tractor. It turned out so cute! And it makes me smile :)
This card is entered in the following challenges:
Tuesday Morning Sketches #145
Divas by Design #34-One for the Boys
My Craft Spot #55-Down on the Farm
Pixie Dust Studio #126-One for the Boys
Did you make it this far? Congrats if you did! This was a big post! Now hopefully I will stay on top of my creations and postings...not be lazy :)
Thanks for stopping by!!
read more →
Happy Wednesday everyone!
Busy week here. We are getting ready for a short weekend trip to Michigan so crafting has been minimal for me, but since Mother's Day is coming up soon, I figured I could make my needed cards and bring them along. And since these cards don't need to be mailed, there is no holding back on dimension and details!
Oh boy! I keep looking at this card wondering if I really made it! I just can't get over how beautiful it turned out! Everything meshes so well together, there are so many details...it's all just so perfect!
Ok...I'll show you :)
What a stunner!!! Like I said...can't believe I made this!
I've longed to do large dimensional flowers on my cards but because they don't mail very well...I've avoided them for the most part. But these flowers were so fun to put together! I used my cricut to cut them all out from the Mother's Day Bouquet cartridge. I inked up all the edges with purple, used an embossing tool to round up the edges and then staggered all the layers. The centers are all spiral roses. I had different plans for those, but when I tested what they would look like in the center of the large flowers...done deal :)
I made a bunch of my own quilled up white roses to use as fillers in the arrangements. Used some punches for the foliage behind everything. The center is cut out of the card with my circle cutter. I cut a frame from the Lacy Labels cartridge to decorate the opening so it wasn't so boring.
I cut out 2 large butterflies from the butterfly font, added glitter to the wings and purple pearls to the centers. Then cut out a bunch of little butterflies to scatter around the card, adding small purple paint dots to their centers as well.
The finishing touches I added to wrap up this card were glitter to all the flowers so they sparkled. Just wouldn't be complete without glitter :) I added a white flourish and then added white paint dot spirals in the corners for added detail.
The Mother's Day sentiment is a digital stamp I forgot I had in my stash, and the swirlyness of it seemed perfect for this card!
This card is entered in the following challenges:
Sunday Sketch and Stamp #104-Donna's Sketch
Dream Valley #31-For a Special Lady
Catered Crop-B is for Bodacious (all my butterflies!)
Cardz TV #107-There's no Other, Like my Mother
Crafting for all Seasons #26-Handmade Flowers
Aud Sentiments-Anything Goes
My Craft Spot #54-Mother's Day
Kaboodle Doodles #117-Add Some Dimension
Thank you for stopping by!!!
read more →
Hello and happy Friday to everyone!
I'm sharing 2 cards with you today. It's been a productive week for me and I have loved every single card that I have produced. I think they have been some of my best cards yet!
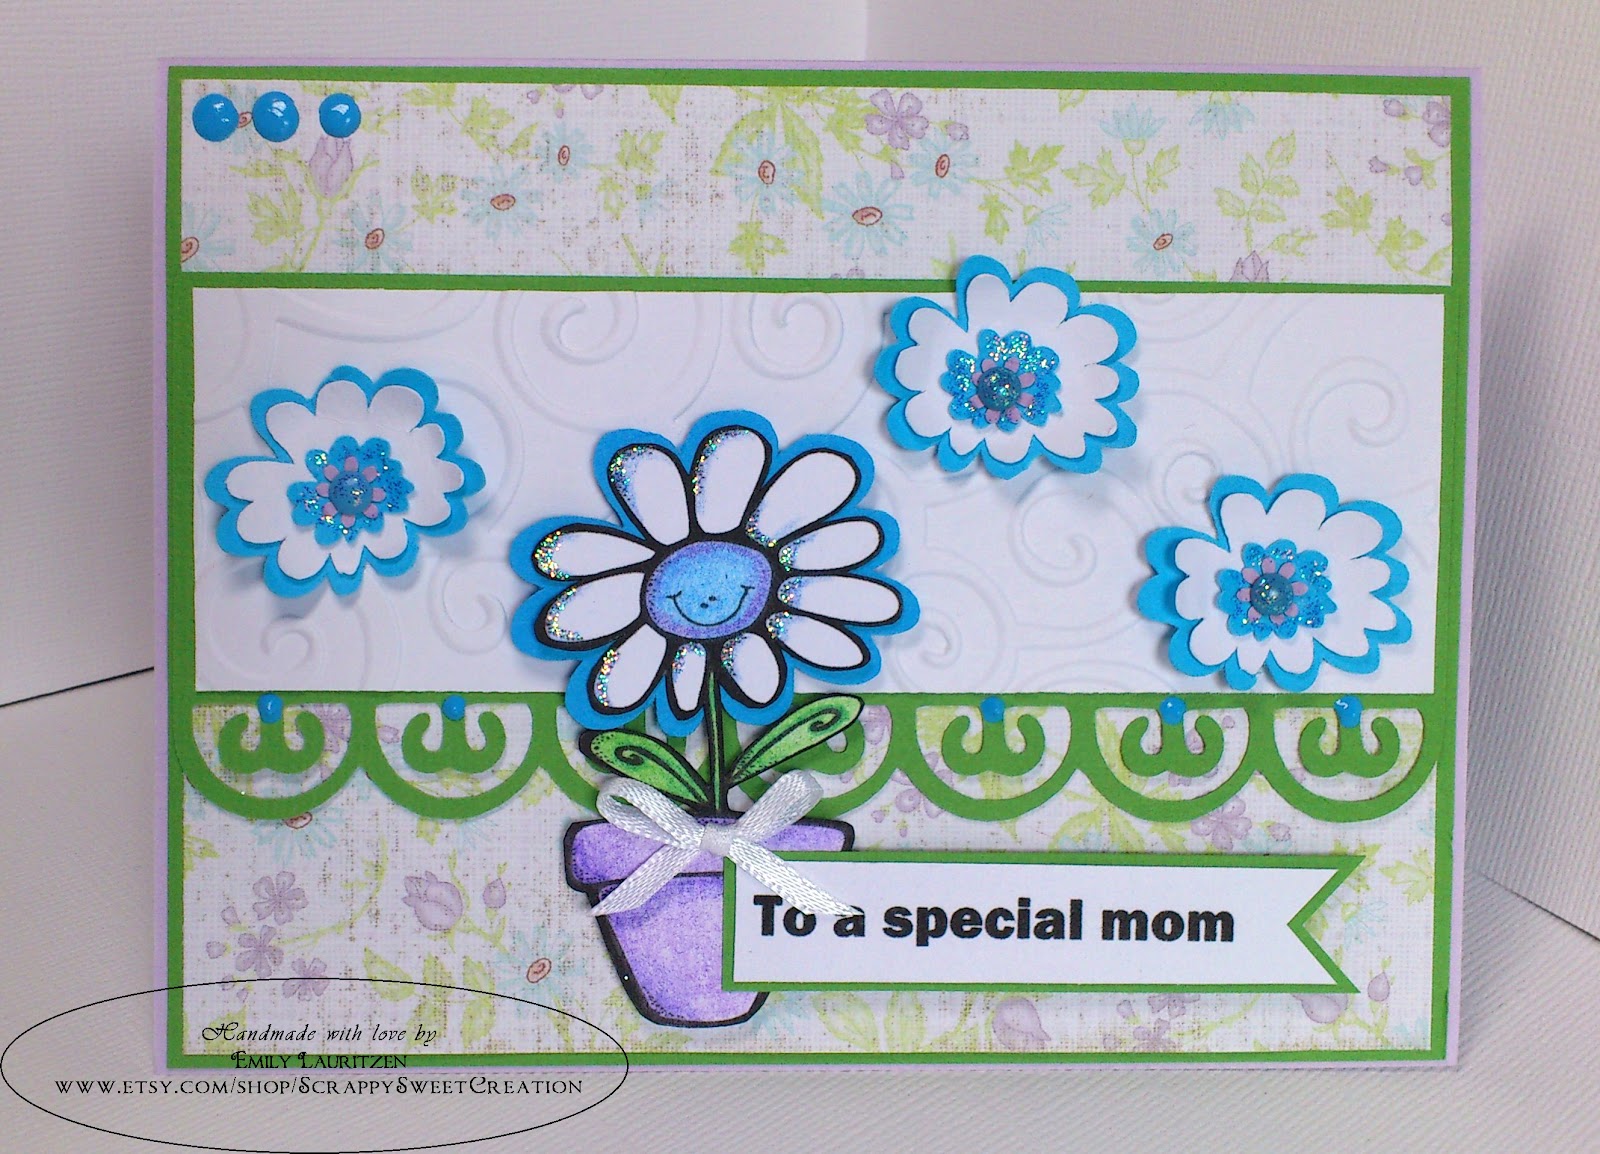
For this first card, I following the sketch at Mojo Monday this week.
Isn't that just so cute!! The flower image is from Melonheadz. I took the flower part of the image and turned it into a cut file and then cut out 3 of them in staggered layers. The center of the little flowers is a blue brad that I covered with some light blue stickles.
The white panel is embossed with my D'vine Swirls folder and then mounted on green card stock with a scallop cut border from Bird's Cards. I added some blue dots to the corner and at the base of each detail on the border.
The image is colored with my pencils. I added a little white bow and some light blue stickles to the petals.
This card is entered in the following challenges:
Mojo Monday Sketch #237
Paper Pretties-Embossing
Ribbon Carousel #49-Color-a-licious
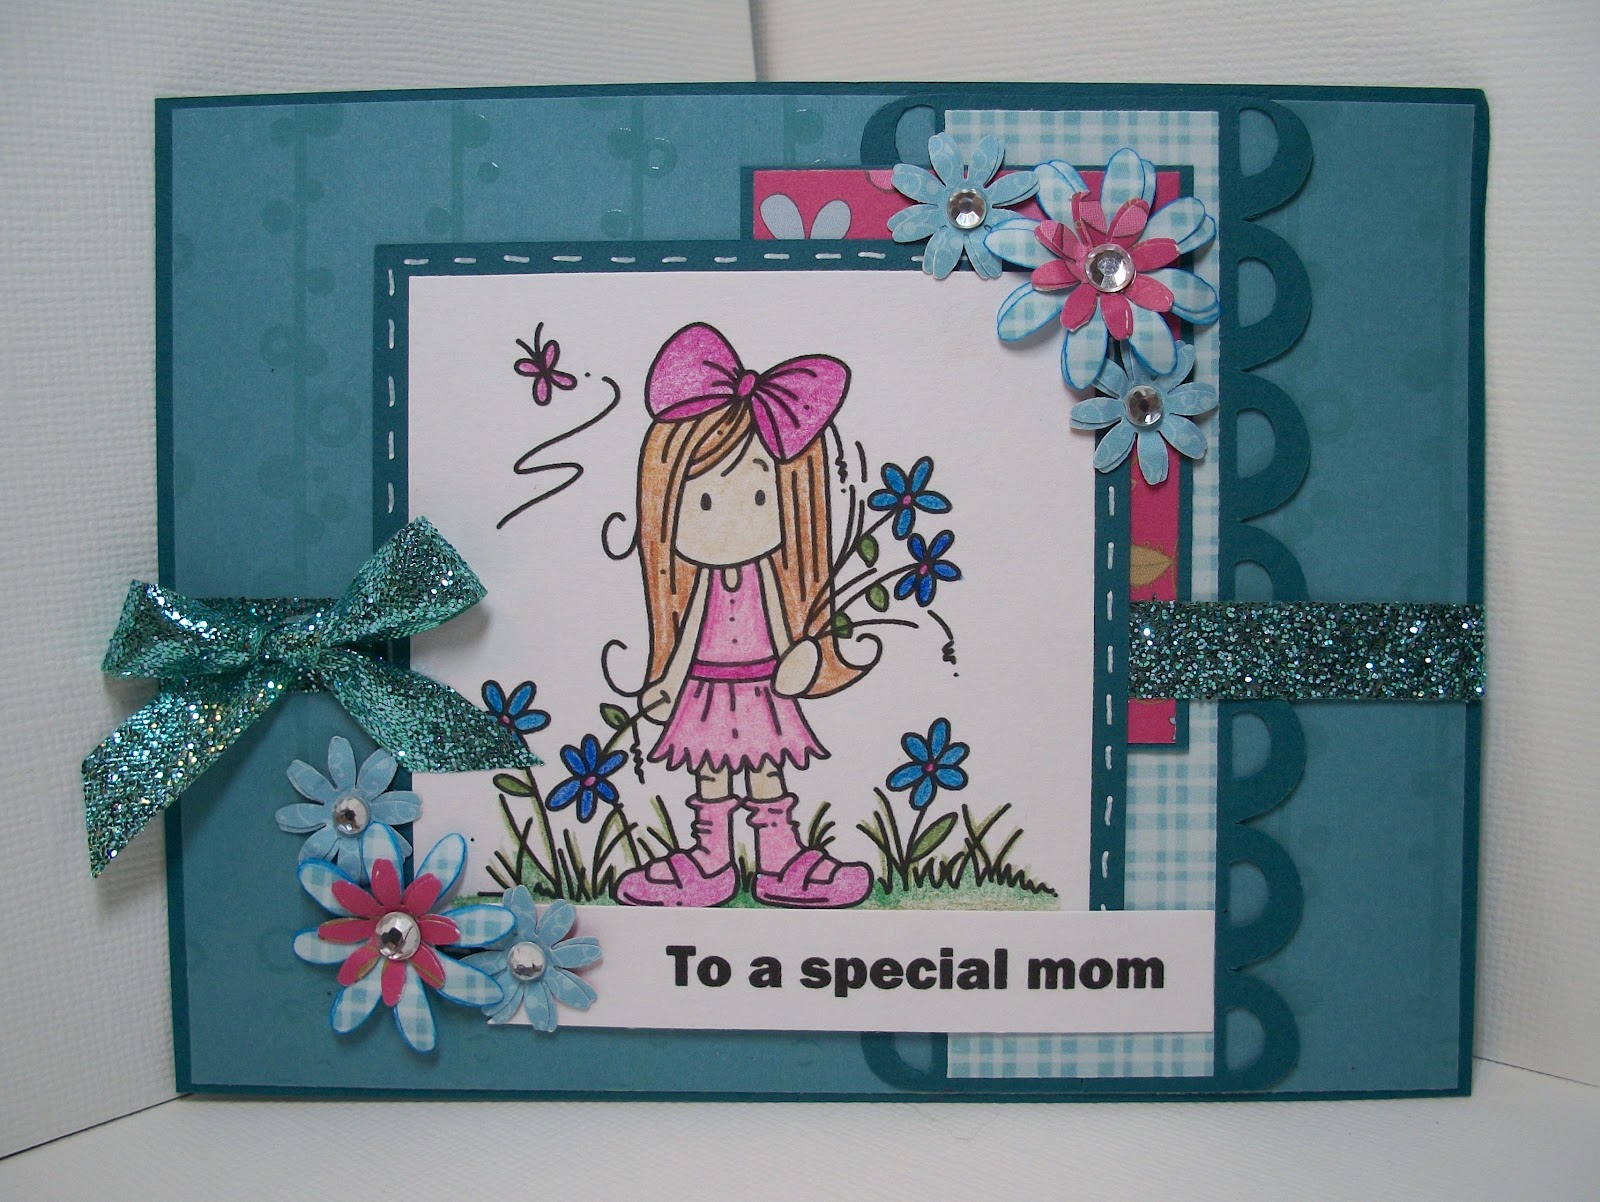
My second card follows the sketch at Simon Says this week.
I was a little worried about using such a dark teal paper...it just seemed so dark and I wasn't sure if I'd be able to brighten it up! But I think it turned out great. The image is Ava Flowers from Bugaboo, again colored in with my pencils. I punched out some daisy's to match the flowers in the image and added some clear gems to the centers.
I added a strip of blue glitter ribbon. At the time of choosing that ribbon, I didn't realize how glittery it was...but by the time the card was complete my desk, my hands, my floor, the card were completely covered in glitter! Quite a mess...but I love glitter and I love this ribbon :)
This card is entered in the following challenges:
Simon Says-Sketch
Prairie Fairy Fridays #77-Anything with Flowers
Thanks for stopping by and have a great weekend!!
read more →
It's been a busy day for me today! While I haven't posted anything, I've made several cards! It feels so good getting things done.
I'm sharing with you my second card I made today. I'm just loving how this one turned out!
Lots of pink and purple here which makes it very girlie, but I just love it! One thing that totally amazes me is that there are 4 different patterned papers on this card! I struggle to get 2 to match a lot of times, so to get 4 is huge for me!!
The image is Pedi Party from Sassy Studio Design. I colored her in with pencils and added some glossy accents to the bubble bucket. One thing I have longed to try is stitching on my cards. I just love looking at what everyone else can do with their sewing machines on their cards! But I've been too scared to try...and too lazy to pull out my sewing machine...so I did some pen stitching around my image instead :) I think it turned out pretty good. Yeah, not fancy or anything, but still cute.
I added some dots of white paint in the corners and sprinkled clear glitter over them so that they sparkled. Then printed off my sentiment tag and it was done! I'm really loving this card! It turned out so much sweeter than I had expected it to!
This card is entered in the following challenges:
Sassy Studio Designs #120-Sketch
Incy Wincy Designs #142-Digis Only
Stamp, Scrap & Doodle-Pastels
Thanks for stopping by!!
read more →
Happy Monday!!
I hope everyone had a great weekend! Mine was pretty uneventful and relaxing...I love being able to just snuggle up on the couch with my husband :)
Today's card is one I am so proud of! I took a little risk with the color combination, but it turned out so awesome!
Originally I had everything lined with green card stock, but that ended up being way, way too much green. So I took the chance, and switched it to pink, not really knowing how well the green paper would look mounted on pink. I think it looks fabulous! The whole card is so girlie but yet the pinkness of it is toned down by the green :)
The image is Bubble Bath from Sassy Studio Designs. I paper pieced the tub to match the background paper and then colored the rest of the image in with colored pencils. I added some glossy accents to the bubbles and watch splash.
The layout follows the Sweet Sunday Sketch. I cut out a scalloped border with my cricut and layered it with a pink dotted paper and white ribbon with a bow.
Then I decorated the interior to match the front.
The sentiments are typed out in word and printed from my computer. I used my white gel pen and added stitching around the inside panel.
This card is entered in the following challenges:
Sweet Sunday Sketch #156
Party Time Tuesdays #63-Water
Little Red Wagon-Spring Colours
Paper Crafting Journey #7-3 or more Patterned Papers
Card Makin Mamas-Make it Girlie
Delicious Doodles #17-Loads of Layers
Prairie Fairy #76-Anything Goes
Stamptacular Sundays #159-Anything Goes
Thanks for stopping by!
read more →
I'm back with another Mother's Day card!
It was loads of fun making this card! I think my color focus has shifted to purple now...3 of the last 6 cards I've posted have been purple...oh well!
I started this card by first punching out the border at the bottom with my Martha Stewart page punch. This card was wonderful in helping me use up a bunch of my random scrap pieces that are just odd sized and difficult to regularly use. The paper used for the border and butterfly were these long 1 1/4 x 12 inch pieces of paper that I had left over from a Christmas gift...they already had adhesive on the back of them and I didn't realize it until after I punched it...but it worked out great for sticking it down. The adhesive was already cut to the right shape!
The flowers are cut from templates I made following a few flower designs from the Cricut Mother's Day Bouquet cartridge. I cut several layers, decreasing the sizes as I went, then inked the edges in purple, pinched or rolled them and glued them all together. The centers are cut from pearled paper and then completed with a small pearl.
I printed off the digi sentiment and wrapped it with a white ribbon and attached a small bow.
The final step was adding all the paint dots. I'm still practicing my consistency with their size :)
This card is entered in the following challenges:
Try Stampin' On Tuesday Sketch #59
The Pink Elephant #141-Butterflies
Tuesday Throwdown #91-Outside the Box (extend an element outside it's frame)
Stampin' Sisters in Christ #132-Use Everything!
Thanks for stopping by!
read more →
It's been a lazy weekend for me...the weather has turned cold and rainy here in Montreal, so any outdoor activities I wanted to do have been put on hold...so I escaped to my craft room :)
I just received my batch of Saturated Canary images in my email last night and could not wait to dive in and make something with them. I just loved this fairy image, she seemed so whimsical.
I've had this peachy orange paper in my stash for awhile. Every time I thumb past it I remind myself to use it but never remember it's there or I pass right over it for one of my more common color choices. Well, I pulled it out today. I just love it! I love that it is double sided and the 2 patterns go together so well. Sometimes when a paper is double sided, I don't feel like the 2 patterns really compliment each other, but that's not the case here!
I followed the sketch over at Sketch Saturday. It has a lot of elements on the sketch, which make the card really fun!
The frame around the fairy is cut from my Cricut Lacy Labels cartridge. I added some green shimmer stitching around the image for added detail. The scallop border at the bottom is a cut file from Birds Cards. I think that has become my new favorite border cut. It's not too fancy but not boring either, which is usually perfect for any card!
Fantabulous Cricut's challenge this week is flowers, and Card Makin Mamas challenge is buttons...but since I don't have any buttons right now (I should really try to get some :) ) I decided to make my own! I cut out a flower shape from the Create-a-Critter cartridge, layered it 5 times and then added a peach patterned paper on top for a total of 6 paper layers. Then I used the smallest eyelet punch I have and made little button holes in all of the "buttons." Once that was done, I took my Glossy Accents and covered the whole thing with a thick layer. I think they turned out pretty good! I will have to keep trying that out with different button shapes.
Once the buttons were dry, I strung some green cord through the centers and taped them down. Originally I had bows tied on all the buttons, but all the loops and tails make it look very chaotic and messy...so I chose to just string them through the center and omitted the bows.
I added some paint dots across the bottom and on the scallop border and then sprinkled some clear glitter on top so they sparkled. There is also some glitter glue added to the fairy's wings.
Such a cute card :)
This card is entered in the following challenges:
Sketch Saturday #200
Fantabulous Cricut #103-Celebrate Spring
Digital Tuesday #152-Life is Peachy
Card Makin Mamas-Buttons
2 Sisters Challenge #84-Spring is in the Air
Thanks for stopping by!
read more →